
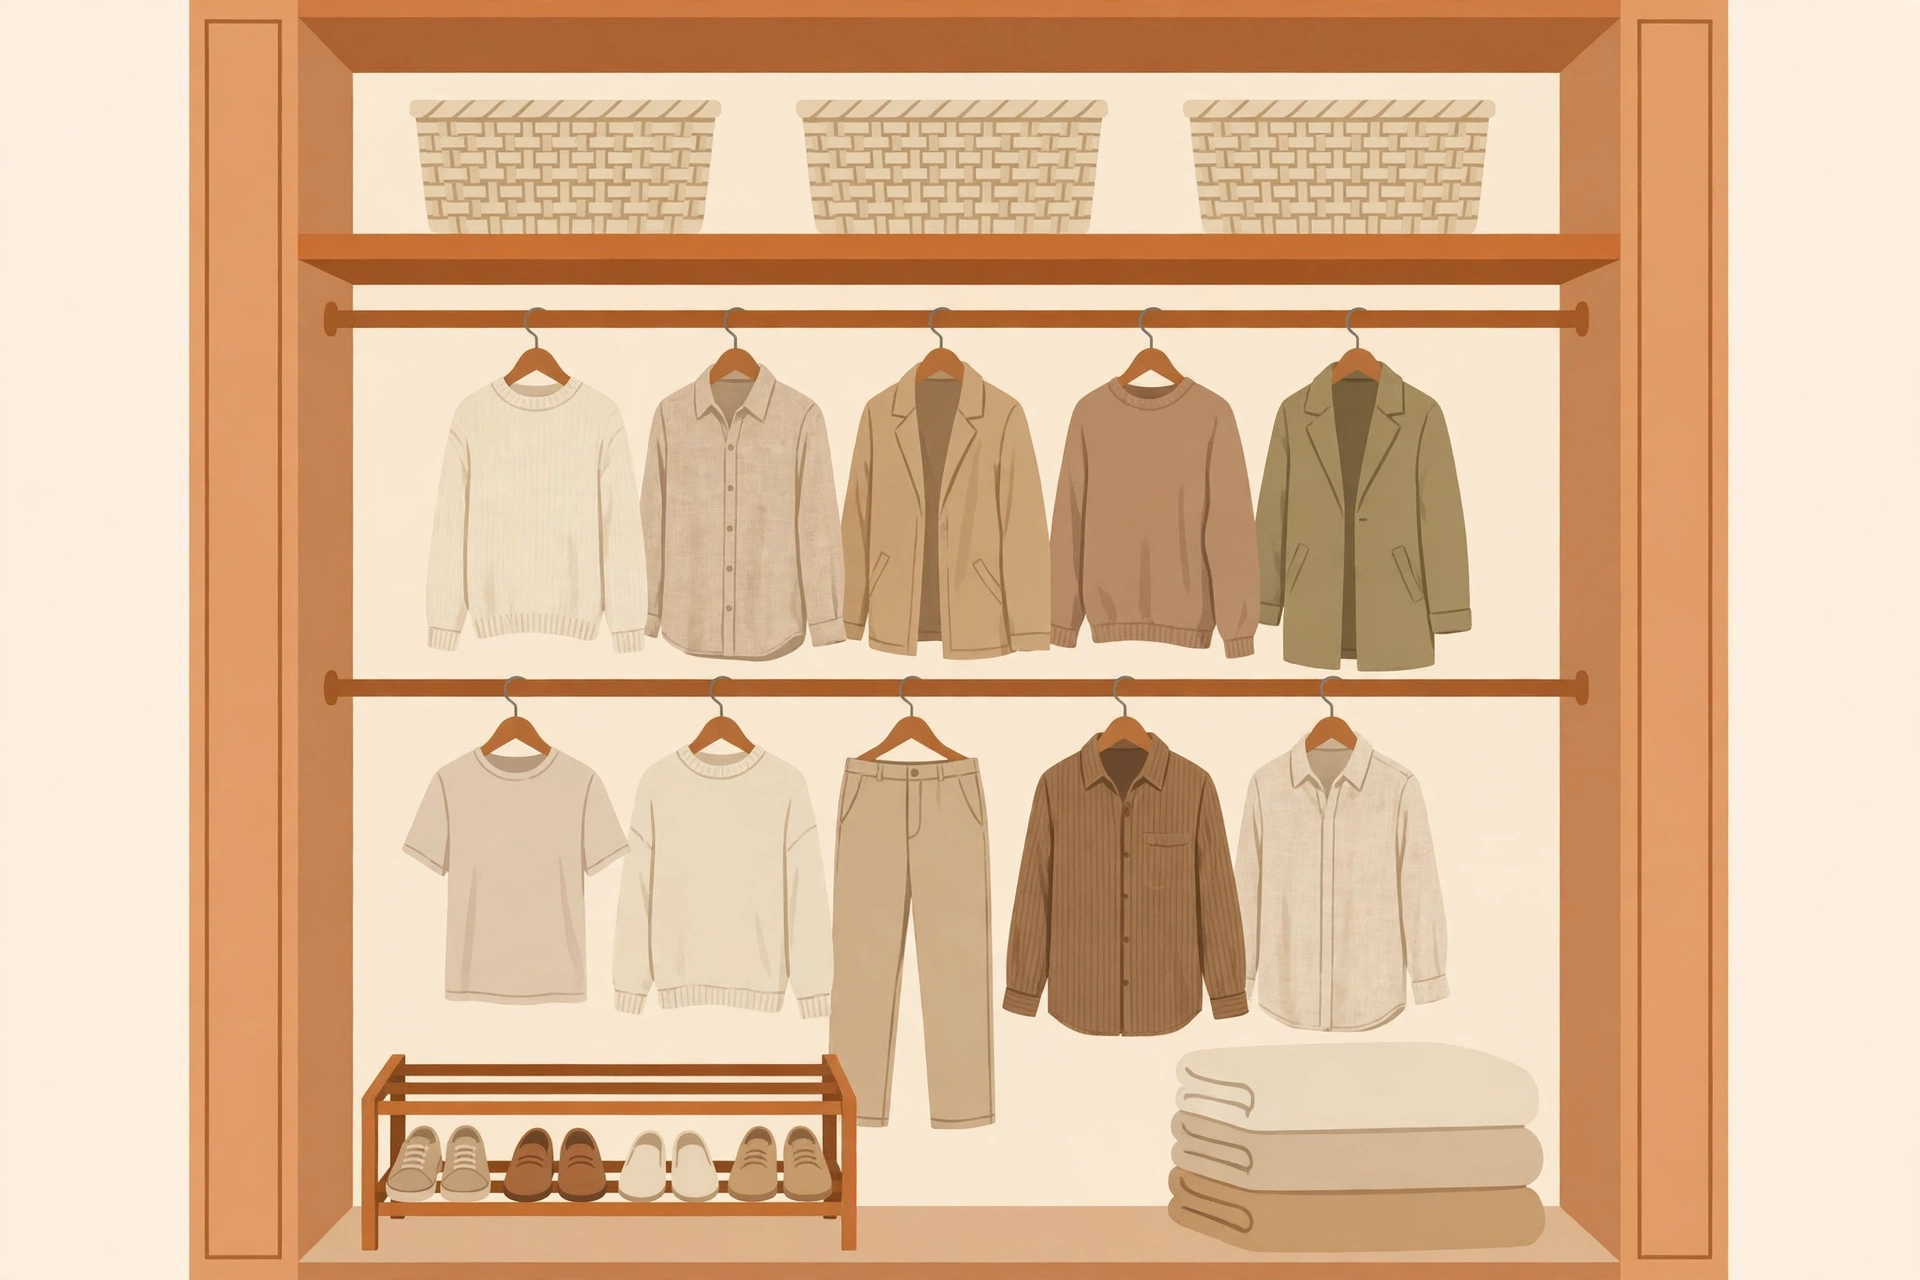
Closet organization products fail for a boring reason: they are bought before the closet is measured. A $60 hanging organizer in the wrong width just becomes expensive clutter. The DIY approach flips the order — measure the space, decide what actually lives there, then build the system from inexpensive parts that fit. Below are two complete systems, one for standard reach-in closets and one for walk-ins, with exact rod heights, shelf depths, and a worked budget. No custom carpentry, no $1,000 closet-company quote.
Start With Measurements, Not Products
Three numbers define every closet project. First, the width — most bedroom reach-ins run 4 to 8 feet wide. Second, the depth — standard reach-ins are 24 inches deep, which is exactly enough for a hanger (about 18 inches of hanging width) plus a few inches of clearance. Third, the height — 8-foot ceilings give you room for a top shelf plus double hanging rods.
Next, audit what the closet must hold. Count your long items (dresses, coats), short items (shirts, folded pants), shoes, and accessories. A closet that is 70 percent shirts needs a different system than one that is 70 percent dresses — this 10-minute count prevents buying the wrong configuration. And note anything unusual: sloped ceilings, a water heater in the corner, a narrow 22-inch depth. These quirks decide the system more than any product catalog.
Reach-In Closets: The Double-Hang System
The single highest-impact change in a reach-in closet is converting one long hanging rod into two. A standard single rod wastes the bottom half of the closet; double rods turn 60 inches of vertical hanging space into storage for twice as many short items.
The numbers: mount the top rod at 80–84 inches from the floor and the lower rod at 40–42 inches. That gives roughly 40 inches of hanging space per rod — plenty for shirts, blouses, and folded pants, which need about 38–40 inches. Keep one 24- to 30-inch-wide section of single rod at 60–66 inches for dresses and long coats. Above everything, a 12-inch-deep shelf at 84 inches holds bins for out-of-season clothes.
Build it with a closet rod ($12–18 for 6–8 feet), four heavy-duty brackets, and two 1×12 pine boards for the shelf — about $45 in parts. Mount brackets into studs; a closet rod loaded with clothes can easily carry 100+ pounds. If you cannot find studs, use toggle bolts rated for 50+ pounds each in drywall. Finish with slim velvet hangers — they take up half the width of plastic hangers, effectively widening a 4-foot closet by a foot. Closets in tight bedrooms benefit the most from this approach — see these small bedroom layout ideas for fitting storage into small floor plans. small bedroom layout ideas
Walk-In Closets: Zone It Like a Store
Walk-ins fail differently: they have space but no structure, so everything migrates to the floor. The fix is zoning — assign each wall a job the way a store lays out departments.
A practical layout for a typical 5×7-foot walk-in: the back wall gets double-hang rods for daily clothes; one side wall gets a long-hang section plus shoe shelving; the other side wall gets shelves and drawers for folded items and accessories. Keep the center clear — you need a 30-inch turning radius to move comfortably, and the center of a walk-in should never hold furniture.
Shelf depths matter more in walk-ins because the shelves are visible. Use 14–16-inch-deep shelves for folded clothes (a folded sweater is about 12 inches wide) and 12-inch shelves for shoes, spaced 6–8 inches apart vertically. One adjustable shelf per section lets you tune the spacing after you live with it for a month. Baskets on the top shelf corral the small stuff — belts, scarves, swimwear — that otherwise colonizes every flat surface. The same zone-by-height thinking rescues other awkward spaces too: these under-stairs storage ideas apply it to the trickiest 15–30 square feet in the house. under-stairs storage ideas
What Does a DIY Closet System Actually Cost?
A complete reach-in system built from home-center parts runs about $130. Worked out for a standard 6-foot reach-in:
• Closet rod, 8 ft + 4 heavy-duty brackets: $28 • Two 1×12 pine shelf boards, 6 ft: $34 • 4 fabric storage bins: $24 • 30 slim velvet hangers: $12 • Stackable shoe rack: $22 • Screws, anchors, shelf brackets: $12 • Total: $132
A walk-in using the same approach runs $200–$350 depending on size, mostly from extra rods, shelves, and bins. Compare that to installed closet systems at $1,000–$3,000, and the DIY version pays for itself the first time you find the shirt you were looking for.
7 Closet Mistakes That Undo Your Work
1. Buying before measuring. The wrong-width organizer wastes both money and the return window. Measure width, depth, and height first — always. 2. One rod for everything. A single rod wastes half the vertical space in any closet over 5 feet tall. Double-hang short items and reserve single-rod sections for long pieces. 3. Deep shelves in a reach-in. Shelves deeper than 14 inches in a 24-inch-deep closet block the hanging clothes behind them. Keep reach-in shelves 12 inches deep. 4. Ignoring the door swing. In reach-ins, the door (or bifold) needs its full swing clear — do not mount hooks or racks where the door travels. 5. No lighting. A dark closet is an unused closet. A $12 battery motion-sensor light inside the door frame changes everything. 6. Keeping the wire shelves as-is. Builder wire shelving dents folded clothes and lets hangers slide. Cover it with a shelf liner or replace the worst sections with wood. 7. Organizing once and never maintaining. Closets drift. A 10-minute reset each season — pull everything out, rehang, re-bin — keeps the system working for years.
Key Takeaways
• Measure width, depth, and height before buying anything — the numbers decide the system. • Reach-ins: double rods at 80–84 and 40–42 inches; one 24–30-inch long-hang section; 12-inch-deep shelves. • Walk-ins: zone by wall (daily clothes, shoes, folded goods); keep a 30-inch clear center. • A complete DIY reach-in system costs about $132 — a fraction of installed closet systems. • Add light, use slim hangers, and do a 10-minute seasonal reset to keep it working.
Good closet organization is invisible: everything has a place, everything is reachable, and getting dressed takes less time. Measure first, build the double-hang or the zones, and the closet stops being a daily negotiation.

One Comment