Open shelving looks effortless in photographs and chaotic in real life, and the difference is rarely the shelves themselves. It is the editing. A shelf holding twelve mismatched mugs, a stack of cookbooks, and a plant nobody waters will always look cluttered, no matter how expensive the brackets are. A shelf holding five well-chosen items with breathing room around them looks intentional at any budget. The good news is that styling is a skill with clear rules, and once you know the spacing and the proportions, you can restyle a shelf in twenty minutes.
The 70-20-10 Shelf Formula
Think of every shelf as a mix, not a collection. About 70 percent should be useful items you actually reach for — everyday plates, bowls, glasses, or books you read. About 20 percent should be decorative but simple: a vase, a framed print leaning against the wall, a small plant. The last 10 percent is breathing room: empty space that lets the eye rest. When a shelf looks crowded, the 10 percent is almost always missing. Remove one item in three and the shelf usually fixes itself.
| Layer | Share of shelf | Kitchen examples | Living room examples |
|---|---|---|---|
| Useful, everyday | 70% | White plates, bowls, drinking glasses | Books, baskets, board games |
| Decorative, simple | 20% | Wooden board, small vase, herb pot | Framed print, candle, small sculpture |
| Empty space | 10% | One clear stretch per shelf | One clear stretch per shelf |
The formula also stops the most common mistake: styling a shelf entirely with decoration. A kitchen shelf full of ornaments looks like a shop display and wastes storage you need. A living room shelf full of books with no vertical break looks like a library stack. Mixing the layers is what makes a shelf feel like part of a lived-in home.
How High and How Far Apart Should Shelves Be?
Spacing is where most open shelves go wrong, and it is fixed before anything is placed on them. In a kitchen, the bottom shelf usually sits 18 to 20 inches above the countertop, so you can work underneath it without hitting your head and still reach the shelf comfortably. Leave 15 to 18 inches between shelves: enough room for tall glasses, a stack of bowls, or a cookbook standing upright, without wasting vertical space. Shelves themselves are usually 10 to 12 inches deep in a kitchen — deep enough for a dinner plate, shallow enough that nothing hides at the back.
In a living room, spacing can relax a little because nothing is being chopped underneath. Leave 12 to 15 inches between shelves for books and smaller objects, and hang the lowest shelf at about 48 to 54 inches from the floor if it sits above a sofa or sideboard, so it clears the furniture below. A shelf that is too high becomes decoration you cannot reach; a shelf that is too low becomes a head-height hazard. Measure from the furniture, not just from the floor, because a sideboard adds 30 inches or more to the starting point.
Length matters too. A single shelf of 24 to 36 inches is easy to style and easy to reach. Shelves longer than 48 inches need a middle bracket for support, especially under the weight of books or stoneware, and they are harder to keep balanced because the eye reads the whole run as one shelf. Two shorter shelves often look better and hold more, in practice, than one very long one.
Styling a Kitchen Shelf, Step by Step
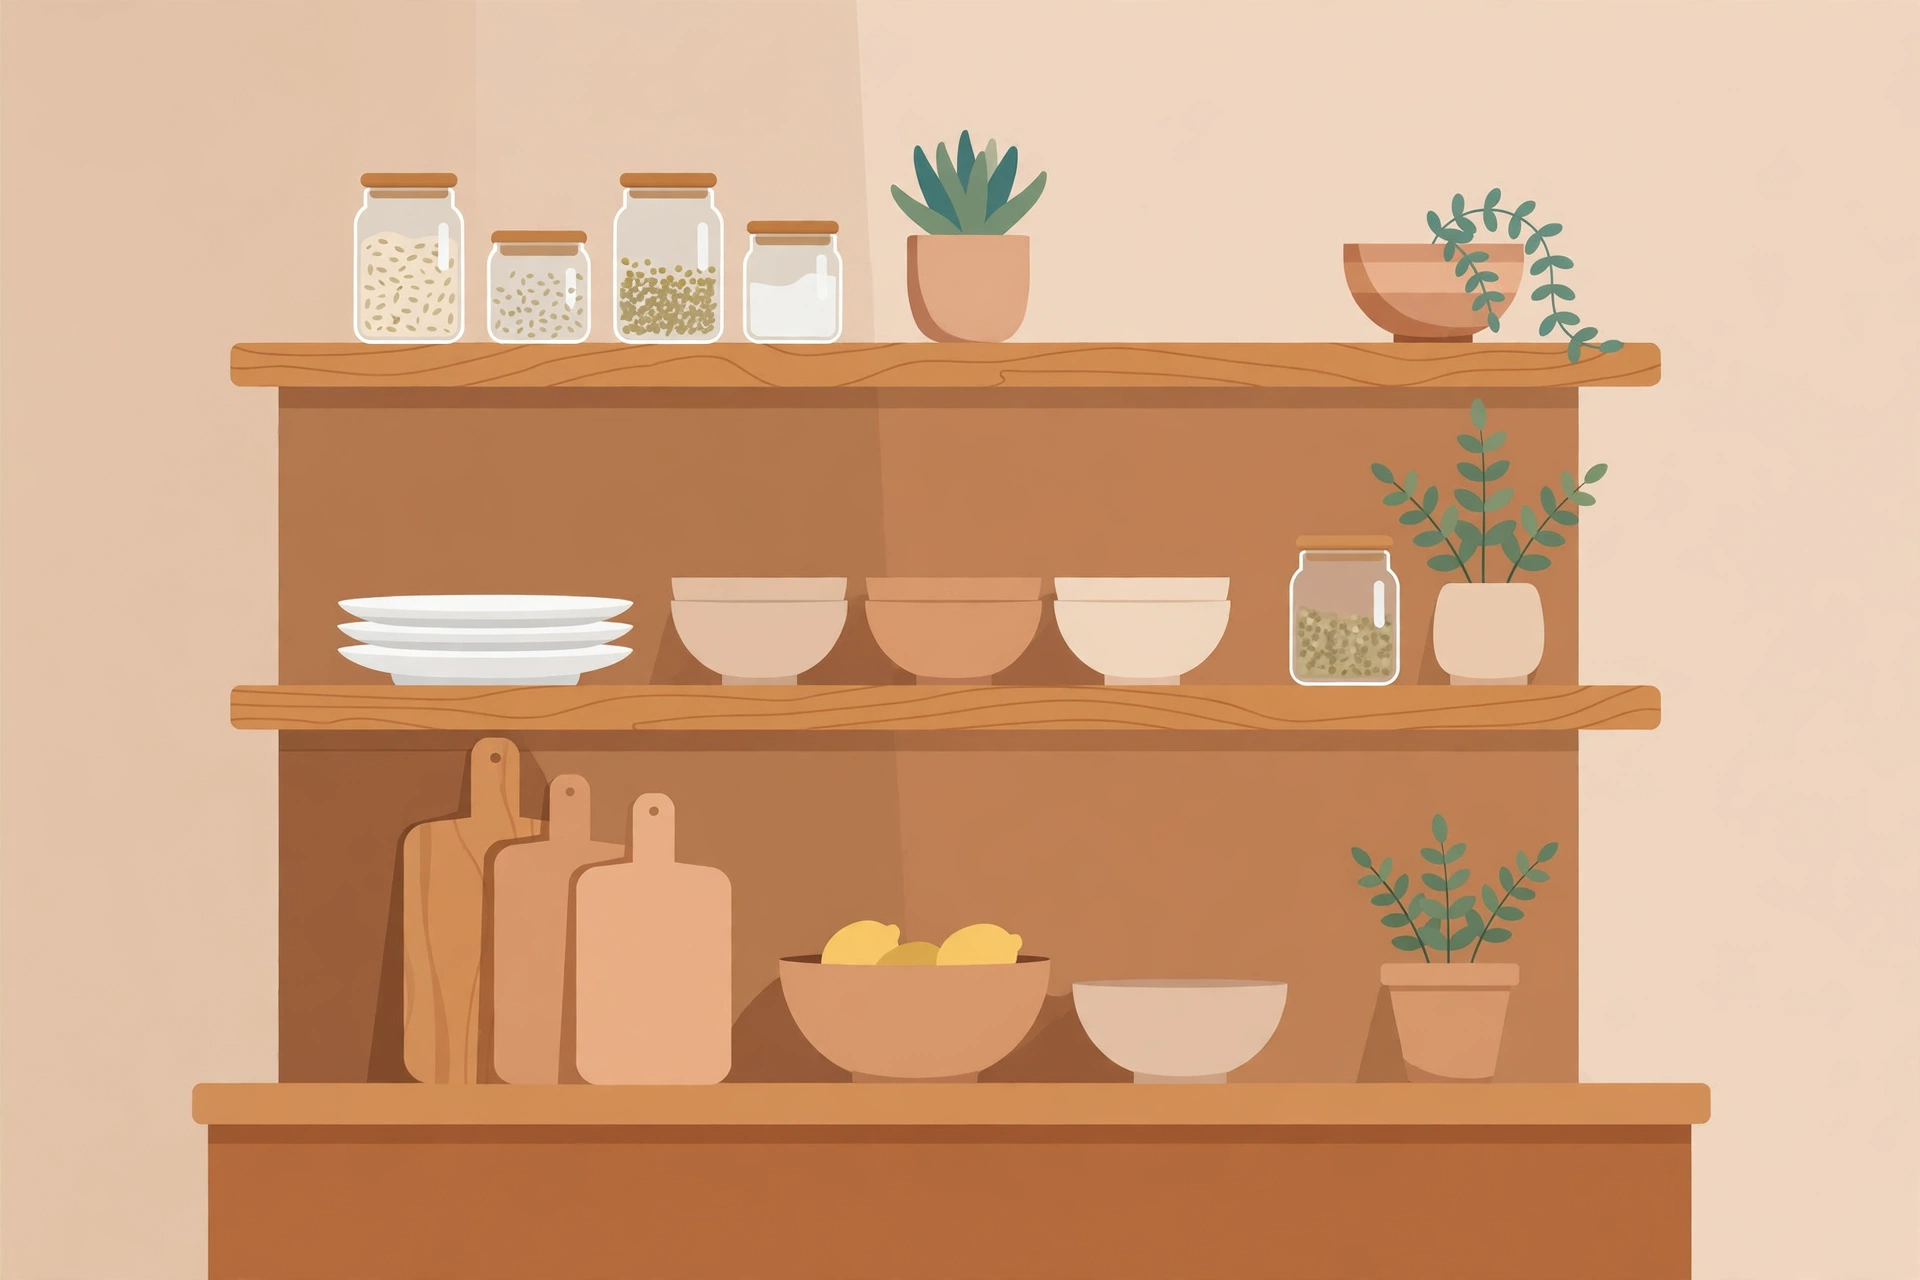
Start by emptying the shelf completely and grouping what you own. Keep only the pieces you use weekly: everyday plates, bowls, and glasses in plain colours photograph and live better than a rainbow of novelty mugs. Stack plates in groups of four to six, never higher than about 10 inches, so the stack stays stable and easy to lift. Place the tallest items at the ends or at the back — a wooden cutting board leaning against the wall anchors one end beautifully — and keep the front edge clear so nothing looks ready to fall.
Next, add one decorative item per shelf, not per foot. A small potted herb, a plain vase, or a single framed recipe card is enough. Then step back and remove one thing. This last step feels wrong and almost always improves the result, because shelves are styled from three feet away, not from six inches. If you are replacing a backsplash at the same time, our kitchen backsplash budget ideas cover ten looks under $200 that pair well with open wood or white shelves.
What Changes in the Living Room?
Living room shelves carry more variety — books, baskets, photos, plants — so the rules shift from usefulness to balance. Alternate horizontal and vertical: a stack of two or three books lying flat, topped with a small object, breaks up a row of upright spines and gives the eye somewhere to land. Use baskets or boxes on the lowest shelf for the unphotogenic items — chargers, remote controls, craft supplies — so the styled shelves above stay calm.
Colour discipline helps more here than in the kitchen. Limit each shelf to two or three colours plus wood and white, and repeat one colour across at least two shelves so the whole unit feels connected. A shelf of all-neutral books with one terracotta pot repeated twice reads as a design choice; a shelf of every colour at once reads as storage that escaped its cupboard. Our bookshelf styling guide goes deeper on the rule of thirds and grouping for book-heavy shelves, which applies directly to living room open shelving.
Common Mistakes That Make Shelves Look Cluttered
The first mistake is filling every inch. Empty space is not wasted space on a shelf; it is the frame around everything else. Leave at least one clear stretch of 6 to 8 inches on each shelf, even if that means storing the overflow in a closed cupboard.
The second mistake is too many small items. Ten tiny objects read as clutter, while three larger objects read as styling. Group small items on a tray or in a basket so they count as one visual unit instead of ten. The third mistake is matching everything: identical jars in a perfect row look like a store shelf, not a home. Mix heights by at least 3 to 4 inches between neighbouring items, and vary materials — wood, ceramic, glass, greenery — so the shelf has texture as well as colour.
The fourth mistake is ignoring dust and grease, which is a practical point, not a styling one. Kitchen shelves near a stove collect grease, so keep everyday dishes there — they get washed often — and keep purely decorative items on shelves further from cooking. Living room shelves need a quick dusting every two weeks; if a shelf is too high to reach comfortably, it will be neglected, so keep the top shelf for items that tolerate dust, such as baskets or sturdy ceramics.
How Much Do Open Shelves Cost?
A basic floating shelf kit with brackets costs $25 to $45 per shelf for a 24 to 36 inch length, and a pair of solid wood shelves with heavy-duty brackets runs $60 to $120 installed yourself. Reclaimed or butcher-block style shelves cost more, $50 to $90 per shelf before brackets, but their thickness — 1.5 to 2 inches — suits the look better than thin boards. Budget $150 to $250 for a typical kitchen run of three shelves, including brackets, wall anchors, and a level, and add $30 to $50 if you need a stud finder and masonry anchors for a brick or tile wall. Always anchor into studs where possible; a shelf of stoneware is heavier than it looks, easily 20 to 30 pounds per shelf when loaded.
Key takeaways: Use the 70-20-10 formula — mostly useful items, a little decoration, and real empty space. Keep kitchen shelves 18 to 20 inches above the counter, 15 to 18 inches apart, and 10 to 12 inches deep. Style in groups, vary heights by 3 to 4 inches, repeat one colour across shelves, and remove one item before calling it done.
Open shelves reward restraint more than shopping. Get the spacing right, keep mostly things you use, leave breathing room, and the shelves will look styled on an ordinary Tuesday — not just in the photograph taken the day they were installed.