

A backsplash covers a tiny patch of wall yet sets the tone for the whole kitchen — which is why contractors quote $800–$1,500 for the job. The good news: for a standard 10-foot run, ten DIY-friendly options land under $200 in materials, and most need nothing more than a weekend and basic tools.
Measure First: The Square-Foot Maths
Every budget below assumes a standard backsplash: a single 10-foot run of countertop with 18 inches of wall between the counter and the upper cabinets. That’s 10 × 1.5 = 15 square feet. Always add 10% for cuts and mistakes, so buy for 17 square feet.
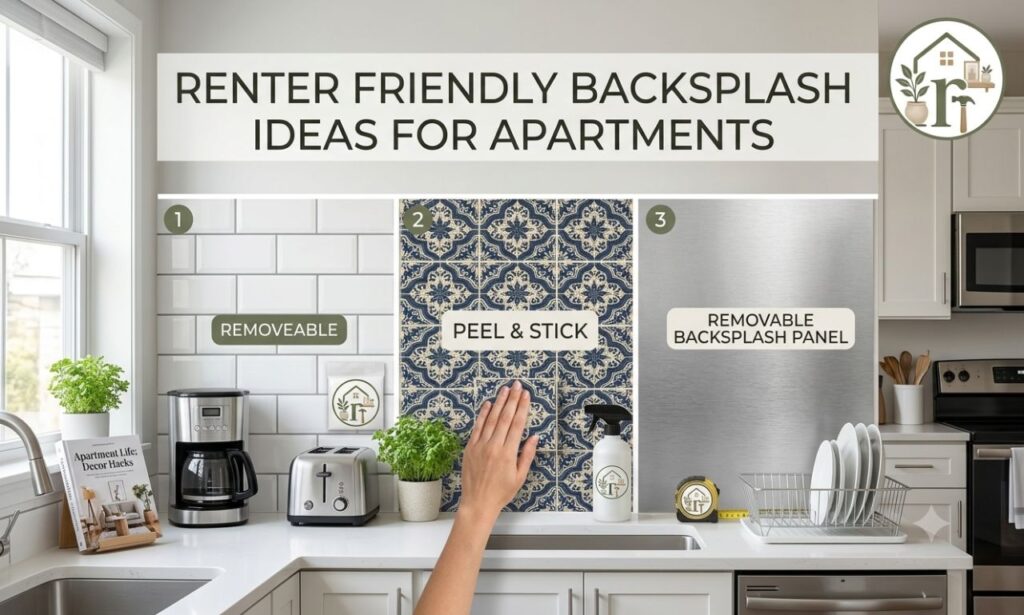
Measure your own wall: run length (in feet) × height (in feet, usually 1.25–1.5 ft). A galley kitchen with two 8-foot runs at 18″ tall = 24 sq ft → buy 27. An L-shaped kitchen can hit 30+ sq ft, which doubles material costs — the per-look prices below scale linearly, so do your own multiplication before committing. If you rent, start with our renter-friendly backsplash ideas instead — several options below are permanent installs your landlord won’t forgive.
Peel, Stick & Paint: The No-Tile Options
1. Peel-and-Stick Subway Tile — ~$55
The gateway budget backsplash. Quality peel-and-stick panels run $2–$4 per sq ft; 17 sq ft lands around $35–$70. Look for 3D gel tiles rather than flat vinyl prints — the bevelled edges catch light like real ceramic. Installation is genuinely a Saturday afternoon: clean the wall with degreaser, start at the centre and work outward, overlap seams by 1/16″. Keep them 6+ inches from an open gas flame.
2. A Fresh Coat of Paint — ~$30
The cheapest transformation in this list. One quart of semi-gloss or satin interior paint ($22–$28) covers 100 sq ft — far more than you need — plus a $6 roll of painter’s tape. Scuff-sand glossy existing tile with 120-grit first, then use a bonding primer so the topcoat grips. Finish with two coats; it wipes clean like any satin wall. Deep green or navy reads surprisingly high-end against white cabinets.
3. Beadboard Panels — ~$60
A 4 × 8 ft sheet of primed MDF beadboard costs $25–$35 at any home centre; most backsplashes need one sheet. Cut to height with a jigsaw (18″ strips), adhere with construction adhesive, caulk the countertop seam, and paint to match your trim. The vertical grooves add cottage texture for the price of paint. Seal the bottom edge well — it’s the splash zone.
4. Vinyl Wallpaper or Peel-and-Stick Mural — ~$45
One roll of paste-the-wall vinyl ($30–$50) covers a standard run, and modern prints — faux cement tile, botanical murals, subtle linen weaves — look nothing like grandmother’s wallpaper. Choose scrubbable vinyl rated for kitchens, and run a bead of clear silicone along the countertop edge to block water creep.
Real Tile on a Budget
5. Classic Ceramic Subway Tile — ~$110
The real thing is cheaper than most people assume: basic 3 × 6″ white ceramic subway tile sells for $2–$5 per sq ft. Budget 17 sq ft × $3 = $51 for tile, plus a $20 bag of pre-mixed thinset, $15 of grout, and $12 for spacers — roughly $100–$120 all in. A manual tile cutter ($25, or borrow one) handles straight cuts; a $10 carbide nipper manages outlet boxes. Running bond pattern, 1/16″ joints, done in a weekend.
6. Mosaic Sheets on Mesh — ~$130
12 × 12″ mesh-mounted mosaic sheets ($5–$10 per sq ft) install dramatically faster than individual tiles — you set a square foot at a time. Seventeen sq ft at $7 = ~$120 plus grout. Stick to simple patterns (penny rounds, mini hexagons) in one colour; busy multi-colour mosaics date fast and show every lippage flaw.
7. Brick Veneer / Faux Brick Panels — ~$140
Thin brick veneer runs $4–$8 per sq ft; 17 sq ft at $6 = ~$102 plus mortar. For less mess, 4 × 8 faux brick panels ($30–$40 each, two needed) glue straight to the wall and paint beautifully — a German schmear finish (mortar washed over brick) is very forgiving of imperfect panels. Seal with matte polyurethane; raw brick stains near a stove.
Texture & Pattern for Pennies
8. Pressed Tin / Faux Ceiling Tiles — ~$90
Real pressed-tin tiles ($3–$6 per sq ft) glue directly over a flat wall — no grout, no thinset. Faux-tin PVC versions cost half that and cut with scissors. At 17 sq ft you’re at $50–$100. The reflective patterns bounce under-cabinet light around, which small kitchens desperately need. Paint them: oil-rubbed bronze over tin is a classic.
9. Chalkboard Paint Accent — ~$35
One quart of chalkboard paint ($20–$25) plus primer covers the whole run twice over. It’s not for everyone, but on the wall beside the range — the menu-planning zone — it’s genuinely useful: grocery lists, recipes, kids’ drawings. Season it first (rub chalk over the whole surface, then erase) or the first thing you write ghosts forever.
10. Adhesive Film / Contact Paper — ~$25
The absolute floor on price: a $12–$15 roll of quality contact paper (marble, terrazzo, or concrete prints) covers 15+ sq ft. Apply with a felt squeegee, working from the centre out to chase bubbles. It won’t fool anyone up close, but from three feet away the marble prints are convincing — and when it wears out in 2–3 years, you peel and redo. The lowest-risk way to test-drive a bold pattern.
Installation Basics That Apply to Every Option
Whichever look you choose, the prep is identical and non-negotiable: kill power to the outlets, remove cover plates, scrub the wall with a degreaser (kitchens accumulate invisible grease that defeats adhesives), and fill any holes. Mark a level line at the countertop — counters are rarely perfectly level, and starting crooked telegraphs across the whole run. Work from the most visible point (usually the range or sink) outward, so cut pieces land in the corners where eyes don’t go. Budget one full weekend: Saturday for prep and install, Sunday for grout/caulk and outlet covers. For the wall above the cabinets — the other highly visible kitchen surface — see how to decorate above kitchen cabinets.
Budget Backsplash FAQ
How many square feet of backsplash do I need?
Multiply each wall run (feet) by the height (feet, typically 1.5 ft for the standard 18″ gap), add all runs together, then add 10% for waste. A single 10-ft run at 18″ tall = 15 sq ft → buy 17.
Can I put peel-and-stick tile behind a gas stove?
Keep adhesive tiles at least 6 inches from open flames and check the product’s heat rating (most are rated to 150–200°F). For the wall directly behind a range, real tile, tin, or brick veneer are safer choices.
Can I tile directly over my existing backsplash?
Only if the old surface is flat, firmly bonded, and grease-free — laminate or flat tile, yes; textured or peeling surfaces, no. When in doubt, the $30 paint option buys you time while you plan the real job.
What’s genuinely the cheapest option?
Paint, at roughly $30 for a quart and tape. Contact paper at $25 is close, but paint lasts years longer and looks intentional rather than temporary.
A backsplash is the highest square-foot-impact surface in a kitchen, and every option above lands under $200 for a standard 15 sq ft run — most well under $100. Measure twice, prep properly, and pick the look you’ll still like in five years, not five weeks.


One Comment