
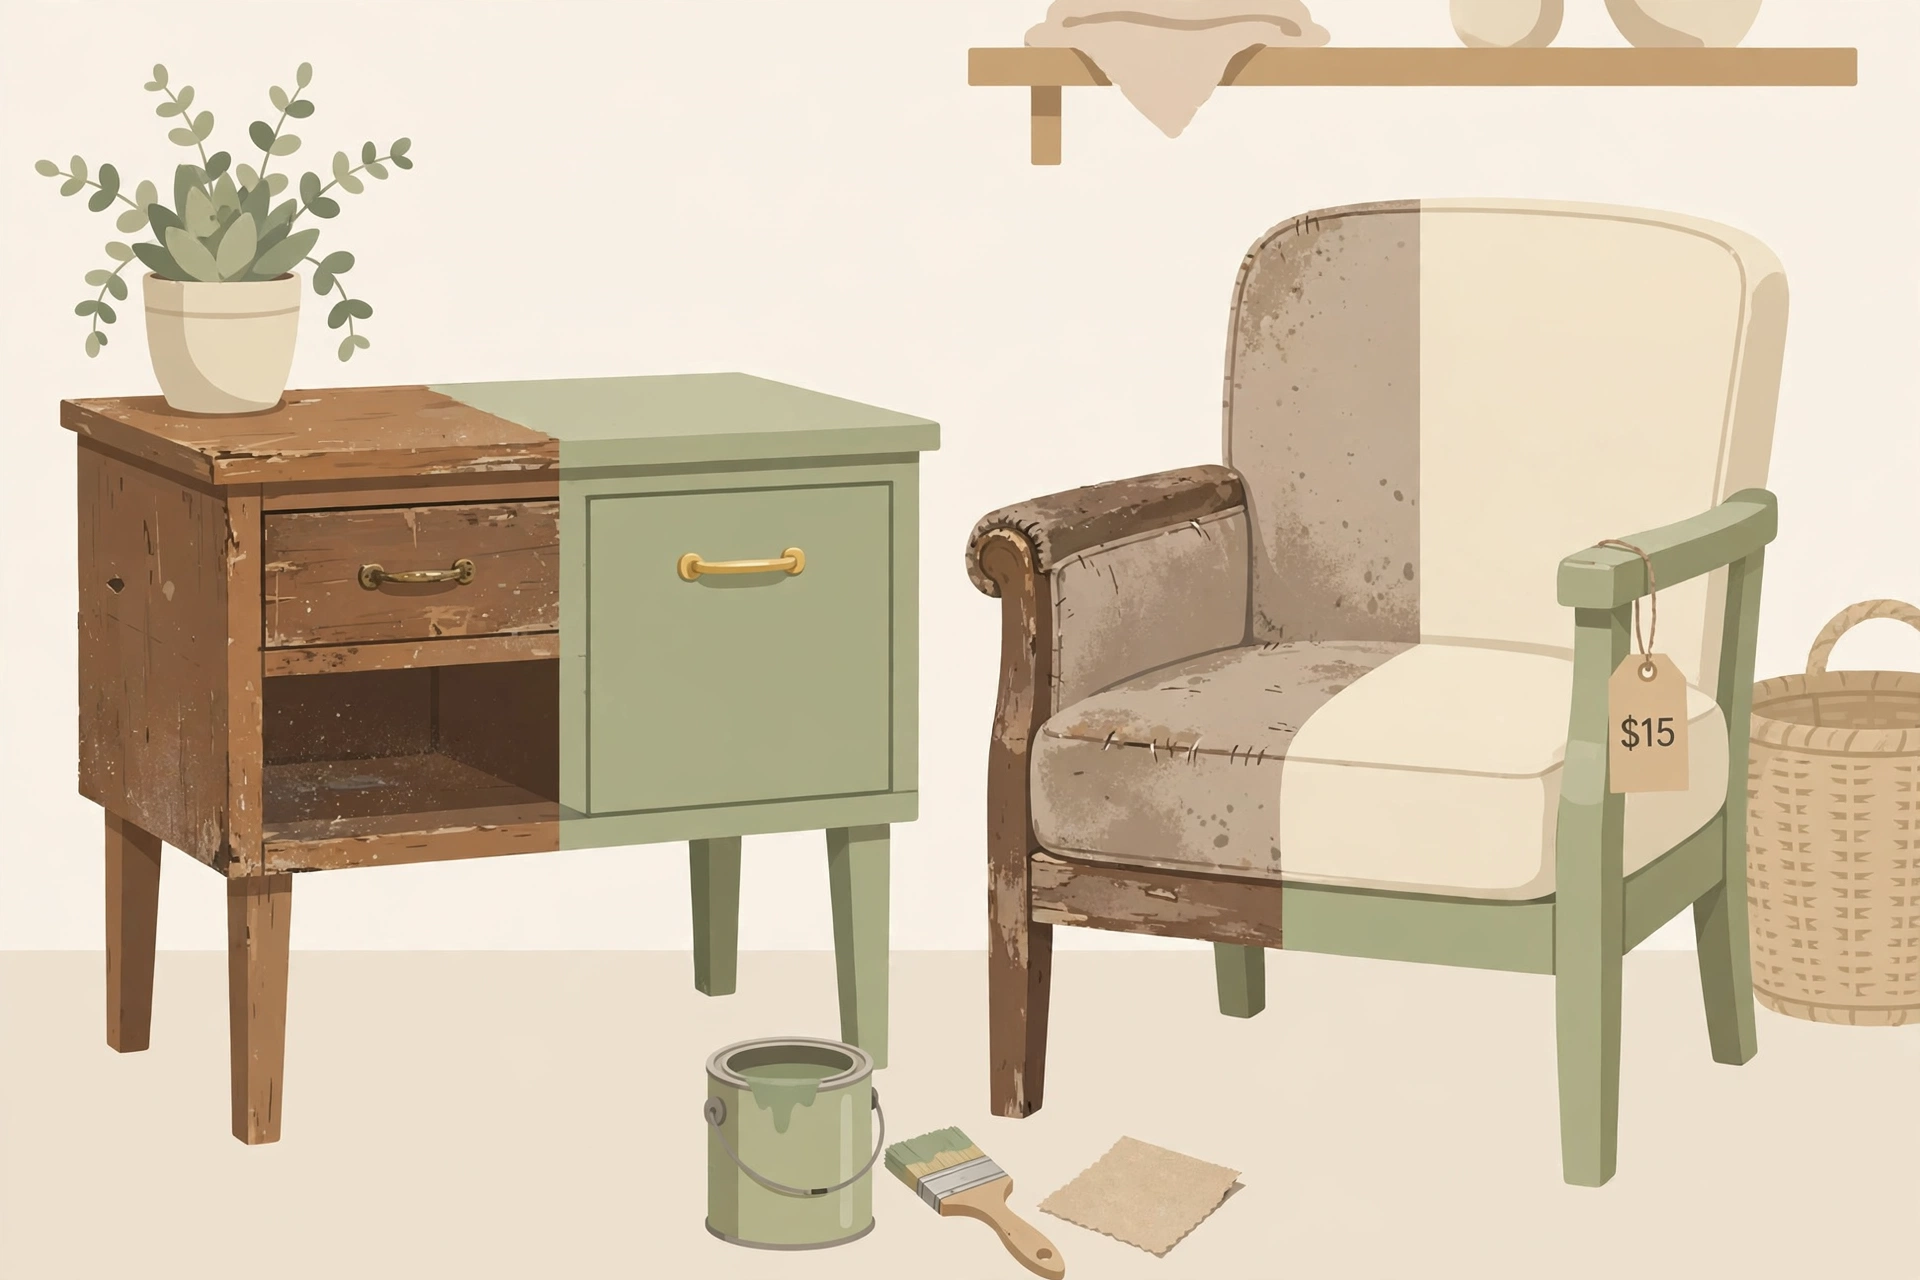
There is a particular thrill in walking past a $400 side table in a catalogue and knowing the one in your hallway cost $12 and a Saturday afternoon. Thrift stores are the only shops where the inventory changes daily, the prices drop by tag colour, and solid wood hides under ugly finishes waiting for someone with a paintbrush. The ten flips below need no power tools and no prior experience — just a willingness to see past the dust. Total budgets run $4 to $51 per piece, and most take a single afternoon plus drying time.
Quick answer: Start with solid wood and simple shapes — side tables, lamps, mirrors, and frames flip fastest and cheapest ($4–$51 per piece). Clean everything with degreaser first, do the wiggle test before buying, and budget $15–$25 for paint and supplies per project. Most flips take one afternoon plus drying time, with no power tools required.
Flip It or Skip It: The 60-Second Thrift Test
Every good flip starts at the shelf, not the workbench. Run three checks before anything goes in your basket. First, structure: wiggle it. A wobbly chair with stripped screws is a repair project, not a flip; drawers should slide and doors should close. Solid wood is forgiving, swollen particleboard is not — press the edges, and if they crumble or bubble, walk away. Second, shape: ignore the colour and finish completely and look at the lines. Good bones (a clean silhouette, turned legs, a decent arch) paint up beautifully; fussy 1980s detailing does not. Third, size: keep a tape measure in your pocket and know the dimensions of the spot at home. A $10 dresser that does not fit through your hallway is a $10 storage problem.
Two bonus checks: sniff it (musty upholstery rarely airs out fully), and learn the store’s tag-colour discount days — many shops rotate 50% off a different tag colour weekly, which turns a $20 mirror into a $10 one. For renters, thrifted pieces pair perfectly with rental-friendly upgrades since nothing here requires drilling or permanent changes.
10 Easy Thrift Store Decor Flips
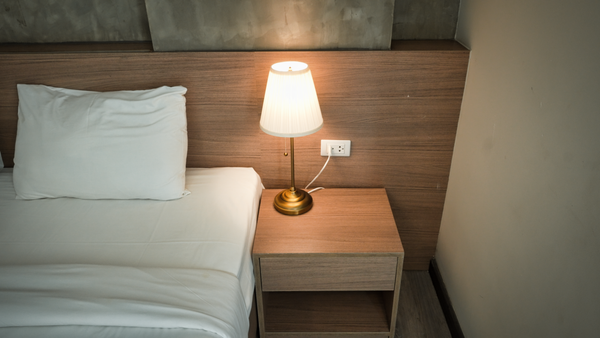
- The $27 nightstand. A wooden side table ($12) gets a coat of sage or charcoal paint ($9 sample pot) and two new knobs ($6). Sand lightly with 220-grit, prime only if the old finish is glossy, and you have a nightstand that passes for boutique.
- The $29 lamp glow-up. Brass table lamps ($10) date a room instantly. A coat of matte black spray paint ($7) plus a fresh drum shade ($12) makes it look like a $90 lighting-store find. Spray outdoors, light coats, 10 minutes apart.
- The $4 art swap. Skip the dated print, keep the frame. Solid wood frames ($4) with real glass are the thrift store’s best-kept secret — drop in a free printable or a page from an old calendar and hang it like you mean it.
- The $27 accent chair. A sturdy wooden dining chair ($15) painted in chalk paint ($12, no primer needed on most finishes) becomes a desk or entryway accent. Distress the edges lightly with sandpaper for a collected look.
- The $15 basket set. Three mismatched wicker baskets ($8) unified with one can of spray paint in cream or black ($7) look like a deliberate storage collection. Stuff the gaps with newspaper before spraying so the insides stay clean.
- The $6 vase trio. Odd glass vases ($6 for three) + leftover wall paint mixed with a spoonful of baking soda = the textured ceramic look selling for $30 each. Two coats, matte finish, done.
- The $51 dresser refresh. A solid six-drawer dresser ($25) with six new knobs ($18) and contact-paper-lined drawers ($8) reads as a full furniture upgrade. This is the biggest payoff per dollar on the list — and a budget kitchen refresh uses the same knob-swapping logic.
- The $21 mirror arch. A rectangular framed mirror ($14) painted in an arch of warm white or terracotta ($7 sample pot) fakes the arched-mirror trend for a tenth of the retail price. Tape the glass edge carefully first.
- The $14 planter set. Four terracotta pots ($9) brushed with thinned white paint — a DIY limewash ($5 sample pot) — look like aged stone. Dab, don’t brush, and leave patches of terracotta showing.
- The $30 two-tone shelf. A small wooden bookshelf ($20) with the back panel painted a contrasting colour ($10 sample pot) turns flat-pack-boring into styled. Sage back + cream frame is the combination that never misses.
What Supplies Should a Beginner Stock?
You do not need a workshop — one $45 starter kit covers all ten flips above and most future ones. Get an all-purpose degreaser (thrift grime laughs at water alone), 120- and 220-grit sandpaper, a small can of shellac primer for glossy or stained pieces, one quart of chalk or acrylic paint in a colour you love, a 2-inch angled brush, one can each of matte black and white spray paint, wood glue, a screwdriver, painter’s tape, and a drop cloth. Buy the paint after your first few hauls, in colours matched to what you actually bring home — not before.
How Much Time Does a Flip Actually Take?
Less than the drying suggests. Small flips — frames, vases, baskets — take one to two hours of active work. Furniture pieces take three to five hours spread over a day, but most of that is waiting: paint needs 2–4 hours between coats and a full 24 hours to cure hard enough for daily use. Plan the schedule around the drying, not the doing — start Saturday morning, and everything is usable by Sunday evening.
Thrift Flip FAQs
Is it safe to buy used furniture from thrift stores?
Mostly yes, with two cautions. Inspect upholstered pieces carefully for bed bugs — check seams and tufting in good light, and skip anything suspicious. For painted furniture made before 1978, assume possible lead paint: a $10 lead test kit from the hardware store settles it, and never sand old paint without a mask and ventilation.
What is the easiest thrift flip for a total beginner?
The frame art swap: buy a solid wood frame, discard the dated print, insert new art. It needs zero tools, zero drying time, and costs under $5. The vase texture trick is the second-easiest — if you can stir paint and wait, you can do it.
Do I need to sand before painting thrift furniture?
A light scuff-sand with 220-grit is enough for most pieces — you are roughing up the gloss so paint grips, not stripping to bare wood. Skip sanding only with chalk paint on matte, unfinished wood. On glossy laminate or varnish, sanding plus a shellac primer is non-negotiable, or the paint will peel within months.
How do I get the thrift store smell out of furniture?
Clean first with a degreaser, then wipe wood with a 50/50 white vinegar and water solution and let it dry in sunlight — UV is the best deodorizer there is. For drawers, sprinkle baking soda inside, close them for 48 hours, then vacuum. Persistent mustiness in upholstery usually means the padding is the problem, and re-padding is rarely worth it on a cheap find.
What thrift finds should I never buy?
Skip used mattresses and mattress toppers (hygiene), swollen or crumbling particleboard (it cannot be repaired), anything with active mould, and recalled baby furniture. Also skip overpriced “vintage” with a boutique markup — the whole point is the discount, so check the sold prices on resale apps before paying more than $30 for any single piece.
The Bottom Line
Thrift flipping rewards judgment more than skill: buy solid structure with good lines, skip the duds with the 60-second test, and let a $9 pot of paint do the heavy lifting. Ten pieces, $4 to $51 each, and not a single power tool — that is the whole game.

3 Comments